
Introduction
Few dishes are as universally loved as Fried Chicken. That first bite into a piece of golden, crispy fried chicken—crackling on the outside, tender and juicy on the inside—is pure bliss. It’s no wonder this iconic dish has become a staple of comfort food, gracing dinner tables, picnics, and fast-food menus around the world. Whether it’s a nostalgic reminder of family gatherings or a treat you crave on a lazy Sunday, Fried Chicken has a way of bringing people together.
But what if you could recreate that perfect Fried Chicken at home? Imagine serving up a platter of crispy, flavorful chicken that rivals your favorite restaurant or fast-food joint. The good news? You don’t need to be a professional chef to master this classic dish. With the right techniques, a few insider tips, and a little practice, you can make Fried Chicken that’s crispy, juicy, and utterly irresistible.
Choosing the Right Chicken Cuts
When it comes to making the best Fried Chicken, the cut of chicken you choose can make or break your dish. Different cuts have unique textures, flavors, and cooking properties, so selecting the right one is crucial for achieving that perfect balance of crispy coating and juicy meat. Let’s break it down.
Why Chicken Thighs and Drumsticks Work Best
If you’ve ever wondered why so many Fried Chicken recipes call for thighs and drumsticks, the answer lies in their fat content and bone structure. These cuts are naturally more forgiving and flavorful, making them ideal for frying.
- The Juiciness Factor
Chicken thighs and drumsticks are darker meat cuts, which means they have a higher fat content compared to leaner cuts like chicken breast. This extra fat keeps the meat moist and tender during the frying process, even if you accidentally overcook it slightly. The result? Fried Chicken that’s juicy and succulent with every bite. - Bone-in vs. Boneless Options
While boneless chicken is convenient, bone-in cuts are the gold standard for Fried Chicken. The bone acts as an insulator, slowing down the cooking process and ensuring the meat stays moist. Plus, the bone adds extra flavor to the meat as it cooks. If you’re short on time, boneless thighs or drumsticks can work, but for the most authentic and flavorful experience, stick with bone-in.
Can You Use Chicken Breast for Fried Chicken?
Yes, you can use chicken breast for Fried Chicken, but it requires a bit more care to avoid dryness. Chicken breast is leaner than thighs and drumsticks, which means it has less fat to keep it moist during frying. However, with the right techniques, you can still achieve delicious results.
- Tips to Avoid Dryness
If you’re set on using chicken breast, here are some tips to keep it juicy:- Brine the Chicken: Soaking chicken breast in a brine (saltwater or buttermilk) before frying helps lock in moisture.
- Pound the Breast: Flattening the chicken breast to an even thickness ensures it cooks evenly and prevents overcooking.
- Don’t Overcook: Use a meat thermometer to ensure the internal temperature reaches 165°F (74°C) but doesn’t go much higher.
- Double-Dip the Coating: A thicker coating helps protect the lean meat from drying out during frying.
While chicken breast can work, it’s worth noting that thighs and drumsticks are still the top choice for Fried Chicken due to their natural juiciness and flavor.
Why This Matters for Fried Chicken
Choosing the right cut of chicken is the foundation of great Fried Chicken. Whether you opt for the juiciness of thighs and drumsticks or the leaner option of chicken breast, understanding the strengths and weaknesses of each cut will help you tailor your cooking process for the best results.
The Perfect Brine for Flavorful Fried Chicken
If you’ve ever wondered why some Fried Chicken is juicier and more flavorful than others, the secret often lies in the brine. Brining is a simple yet transformative step that can take your Fried Chicken from good to extraordinary. Let’s dive into why brining is essential, how it works, and how you can create the perfect brine at home.
Why Brining is Essential
Brining is the process of soaking chicken in a saltwater solution (or other flavorful liquids) before cooking. This step is a game-changer for Fried Chicken because it ensures the meat stays moist and flavorful, even after being exposed to high frying temperatures.
- How Brine Enhances Moisture and Flavor
Brining works through a process called osmosis. The salt in the brine breaks down some of the muscle proteins in the chicken, allowing the meat to absorb more moisture. At the same time, the salt and any additional seasonings in the brine penetrate the meat, infusing it with flavor from the inside out.
The result? Fried Chicken that’s incredibly juicy, tender, and packed with flavor. Without brining, chicken can easily dry out during frying, leaving you with a disappointing, tough texture.
Simple Brine Recipes
Creating a brine is easier than you might think, and you don’t need fancy ingredients to get started. Here are two classic brine recipes that work wonders for Fried Chicken:
- Classic Saltwater Brine
This is the simplest and most versatile brine. All you need is water, salt, and a little sugar to balance the flavor.
Recipe:- 4 cups of water1/4 cup of kosher salt2 tablespoons of sugar (optional, for a hint of sweetness)Optional: Add herbs, garlic, or spices for extra flavor.
Instructions:
- Heat 1 cup of water in a saucepan and dissolve the salt and sugar.
- Remove from heat and add the remaining 3 cups of cold water to cool the mixture.
- Submerge the chicken in the brine and refrigerate.
- 4 cups of water1/4 cup of kosher salt2 tablespoons of sugar (optional, for a hint of sweetness)Optional: Add herbs, garlic, or spices for extra flavor.
- H4: Buttermilk Brine for Extra Tenderness
Buttermilk brine is a Southern favorite for Fried Chicken. The acidity in buttermilk tenderizes the meat, while the creamy liquid adds a subtle tangy flavor.
Recipe:- 2 cups of buttermilk
- 1 tablespoon of salt
- 1 teaspoon of black pepper
- Optional: Add hot sauce, garlic powder, or paprika for extra kick.
Instructions:
- Mix the buttermilk, salt, pepper, and any additional seasonings in a bowl.
- Submerge the chicken in the buttermilk mixture and refrigerate.
How Long Should You Brine Your Chicken?
The brining time depends on the size of the chicken pieces and the type of brine you’re using. Here’s a quick guide:
- Small Pieces (wings, tenders): 1–2 hours
- Medium Pieces (thighs, drumsticks): 4–6 hours
- Large Pieces (whole chicken breasts): 8–12 hours
Be careful not to over-brine, as too much time in the saltwater can make the chicken overly salty. For buttermilk brine, you can go a bit longer—up to 24 hours—since the acidity tenderizes the meat without over-salting it.
Why Brining is a Must for Fried Chicken
Brining is the secret weapon for achieving Fried Chicken that’s moist, flavorful, and utterly irresistible. Whether you opt for a simple saltwater brine or a tangy buttermilk soak, this step ensures your chicken stays juicy and tender, even after frying. Don’t skip it—your taste buds will thank you!
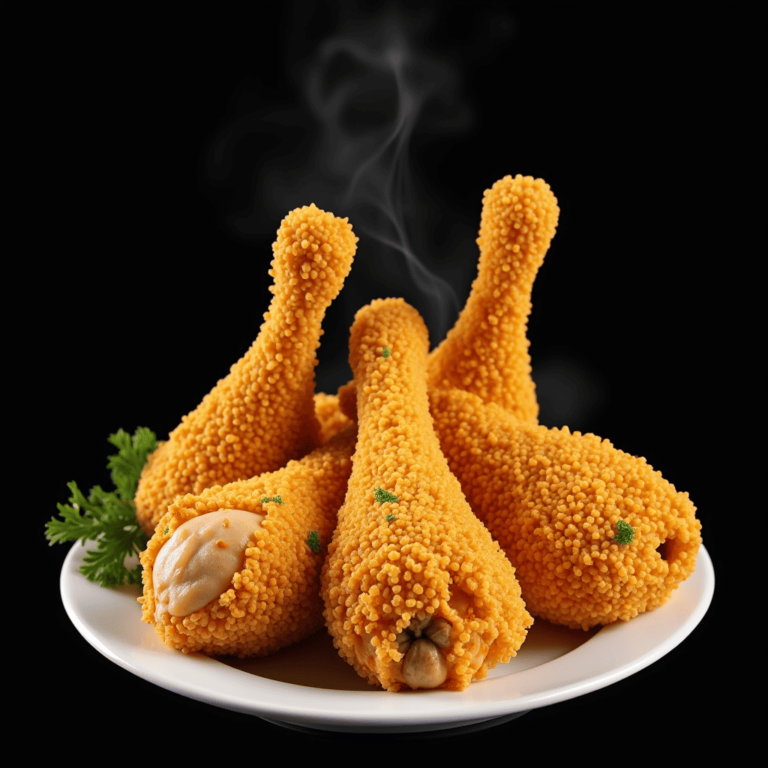
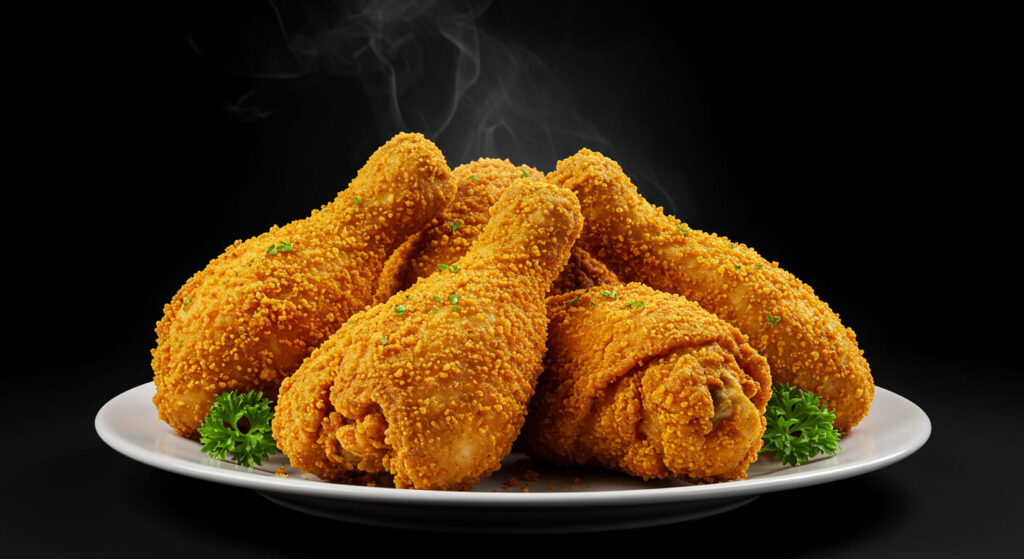
Mastering the Coating for Maximum Crispiness
The coating is what transforms a piece of chicken into Fried Chicken—a golden, crispy shell that shatters with every bite. But achieving that perfect crunch isn’t just about dredging the chicken in flour and tossing it into hot oil. It’s a science, and mastering it requires the right techniques and ingredients. Let’s break it down.
The Double-Dip Method
One of the most effective ways to ensure a thick, crispy coating is the double-dip method. This technique involves coating the chicken multiple times to create layers that adhere well and crisp up beautifully during frying.
- Flour, Egg Wash, Then Flour Again
Here’s how the double-dip method works:- First Coat (Flour): Start by dredging the chicken in seasoned flour. This creates a dry base layer that helps the egg wash stick.
- Egg Wash: Dip the floured chicken into an egg wash (beaten eggs with a splash of milk or buttermilk). The egg wash acts as a glue, helping the next layer of flour adhere to the chicken.
- Second Coat (Flour): Dredge the chicken in flour again, pressing gently to ensure an even, thick coating.
The result? A multi-layered coating that fries up extra crispy and stays intact, even after biting into it.
Secret Ingredients for a Crispy Coating
The ingredients you use in your coating can make a huge difference in the texture and flavor of your Fried Chicken. Here are some pro tips:
- Cornstarch vs. Flour
While all-purpose flour is the traditional choice for Fried Chicken, adding cornstarch to the mix can take your coating to the next level. Cornstarch has a finer texture than flour, which helps create a lighter, crispier crust. A common ratio is 1 part cornstarch to 3 parts flour, but you can experiment to find your perfect blend. - Adding Spices for Extra Flavor
Don’t stop at salt and pepper—your coating is the perfect place to pack in extra flavor. Try adding spices like:- Paprika (for smokiness)
- Garlic powder (for savory depth)
- Cayenne pepper (for a spicy kick)
- Dried herbs like thyme or oregano (for an aromatic touch)
Mix these spices directly into your flour or cornstarch blend for a coating that’s as flavorful as it is crispy.
Letting the Coating Rest
Once your chicken is coated, it’s tempting to drop it straight into the hot oil. But patience pays off when it comes to Fried Chicken. Letting the coating rest before frying is a small step that makes a big difference.
- Why Resting Prevents the Coating from Falling Off
When you let the coated chicken sit for 10–15 minutes (or even longer in the fridge), the flour and egg wash have time to hydrate and bond together. This creates a stronger, more cohesive coating that’s less likely to fall off during frying. Additionally, resting helps the coating dry out slightly, which leads to a crispier texture when fried.
Why the Coating Matters for Fried Chicken
The coating is the star of the show when it comes to Fried Chicken. It’s what gives the dish its signature crunch and locks in the juiciness of the meat. By mastering the double-dip method, using the right ingredients, and letting the coating rest, you can achieve a perfectly crispy, flavorful crust every time.
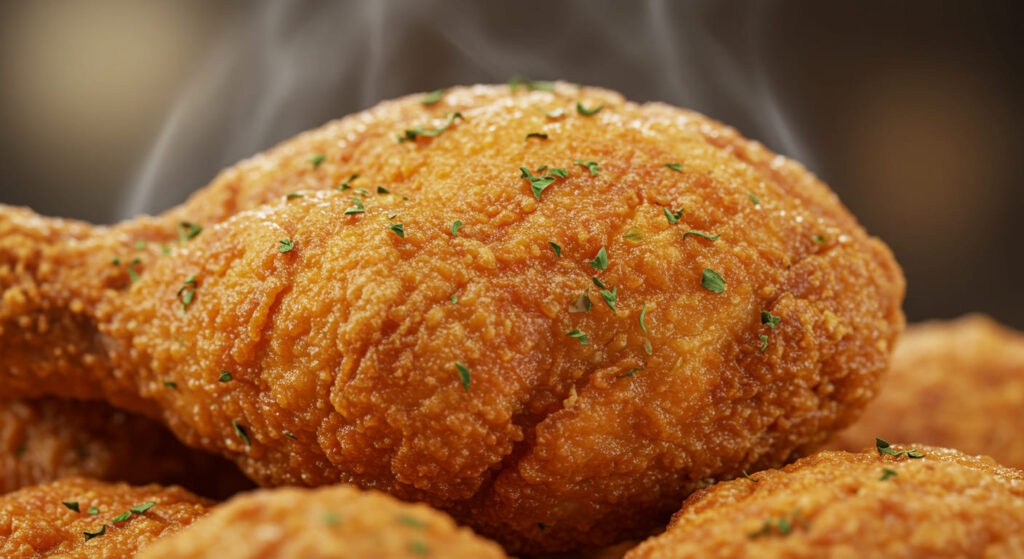
Frying Techniques for Perfect Fried Chicken
Frying is the final—and most critical—step in making Fried Chicken. It’s where the magic happens: the coating turns golden and crispy, the meat cooks to juicy perfection, and the flavors come together in harmony. But frying can be intimidating if you’re not familiar with the process. Don’t worry—we’ve got you covered with everything you need to know to fry like a pro.
Choosing the Right Oil
The type of oil you use for frying can impact the flavor, texture, and even the healthiness of your Fried Chicken. Not all oils are created equal, so it’s important to choose one with a high smoke point and a neutral flavor.
- Best Oils for Frying (e.g., Peanut, Canola, Vegetable)
Here are the top oils for frying Fried Chicken:- Peanut Oil: With a high smoke point (around 450°F/232°C) and a mild flavor, peanut oil is a favorite for frying. It also adds a subtle nuttiness to the chicken.
- Canola Oil: Affordable and versatile, canola oil has a high smoke point (400°F/204°C) and a neutral taste, making it a great all-purpose option.
- Vegetable Oil: A blend of oils like soybean, corn, and sunflower, vegetable oil is widely available and has a smoke point of around 400°F (204°C).
- Sunflower or Safflower Oil: These oils have high smoke points and neutral flavors, making them excellent for frying.
Avoid oils with low smoke points, like olive oil or butter, as they can burn easily and impart unwanted flavors.
The Ideal Frying Temperature
Getting the oil temperature just right is crucial for perfect Fried Chicken. Too hot, and the coating will burn before the meat cooks through. Too cool, and the chicken will absorb too much oil, becoming greasy.
- Why 350°F (175°C) is the Sweet Spot
Frying at 350°F (175°C) ensures that the chicken cooks evenly and the coating turns golden brown without burning. At this temperature:- The oil is hot enough to create a crispy crust quickly, sealing in the chicken’s juices.
- It’s not so hot that the outside burns before the inside is fully cooked.
Use a kitchen thermometer to monitor the oil temperature and adjust the heat as needed to maintain consistency.
Deep Frying vs. Pan Frying
The method you choose for frying can affect the texture and flavor of your Fried Chicken. Here’s a breakdown of the two most common techniques:
- Pros and Cons of Each Method
Deep Frying:- Pros:
- The chicken is fully submerged in oil, ensuring even cooking and a uniformly crispy coating.Ideal for larger batches of chicken.
- Requires a lot of oil, which can be expensive and wasteful.Not as practical for small kitchens.
- Pros:
- Uses less oil, making it more economical and easier to manage.
- Great for smaller portions or if you don’t have a deep fryer.
- Cons:
- The chicken may need to be flipped halfway through cooking, which can disrupt the coating.
- The results may be less evenly crispy compared to deep frying.
- Pros:
How to Avoid Greasy Fried Chicken
There’s nothing worse than biting into a piece of Fried Chicken only to find it soggy and greasy. Here’s how to ensure your chicken stays crispy and light:
- Draining on a Wire Rack vs. Paper Towels
After frying, it’s essential to drain the chicken properly to remove excess oil.- Wire Rack: Placing the chicken on a wire rack (set over a baking sheet) allows air to circulate around it, preventing steam from making the coating soggy. This method keeps the chicken crispy on all sides.
- Paper Towels: While paper towels absorb excess oil, they can trap steam underneath the chicken, leading to a softer coating. If you use this method, pat the chicken gently and serve it immediately.
Why Frying Techniques Matter for Fried Chicken
Frying is the make-or-break step in creating perfect Fried Chicken. By choosing the right oil, maintaining the ideal temperature, selecting the best frying method, and draining the chicken properly, you can achieve a crispy, golden exterior and juicy, flavorful meat every time.
Serving and Storing Your Fried Chicken
Once you’ve mastered the art of making Fried Chicken, the next step is serving it up in style and ensuring it stays delicious, even as leftovers. From classic side dishes to creative ways to repurpose leftovers, here’s everything you need to know to make the most of your Fried Chicken.
The Best Side Dishes for Fried Chicken
No Fried Chicken feast is complete without the perfect sides. Whether you’re sticking to tradition or trying something new, here are some crowd-pleasing options:
- Classic Pairings (e.g., Mashed Potatoes, Coleslaw, Biscuits)
These timeless sides are the ultimate companions for Fried Chicken:- Mashed Potatoes: Creamy, buttery mashed potatoes are the perfect comfort food to balance the crispy chicken.
- Coleslaw: The cool, tangy crunch of coleslaw cuts through the richness of the chicken, creating a refreshing contrast.
- Biscuits: Flaky, buttery biscuits are ideal for soaking up any extra flavor or gravy.
- Unique Sides to Try (e.g., Mac and Cheese, Cornbread)
If you’re looking to mix things up, these sides add a fun twist to your Fried Chicken meal:- Mac and Cheese: Creamy, cheesy mac and cheese is a decadent addition that pairs beautifully with crispy chicken.
- Cornbread: Sweet, crumbly cornbread is a Southern classic that complements the savory flavors of Fried Chicken.
- Collard Greens: Slow-cooked collard greens with a hint of smokiness add a hearty, nutritious element to your plate.
How to Keep Fried Chicken Crispy for Leftovers
Let’s face it: Fried Chicken is best when it’s fresh and crispy. But with the right storage and reheating techniques, you can enjoy leftovers that are almost as good as the first serving.
- H4: Reheating Tips (Oven, Air Fryer, or Skillet)
To revive your Fried Chicken and restore its crispiness, avoid the microwave—it will make the coating soggy. Instead, try these methods:- Oven: Preheat your oven to 375°F (190°C). Place the chicken on a wire rack over a baking sheet and bake for 10–15 minutes, flipping halfway through.
- Air Fryer: Reheat the chicken in the air fryer at 350°F (175°C) for 3–5 minutes. This method works wonders for restoring crispiness.
- Skillet: Heat a skillet over medium heat with a small amount of oil. Place the chicken in the skillet and cover with a lid to trap heat. Cook for 2–3 minutes per side until warmed through and crispy.
Creative Ways to Use Leftover Fried Chicken
Leftover Fried Chicken doesn’t have to be boring. With a little creativity, you can transform it into entirely new dishes that are just as delicious:
- H4: Fried Chicken Sandwiches, Salads, or Tacos
Here are some fun ideas to repurpose your leftovers:- Fried Chicken Sandwiches: Slice the chicken and layer it on a soft bun with pickles, coleslaw, and a drizzle of hot honey or mayo.
- Fried Chicken Salads: Chop the chicken into bite-sized pieces and toss it with greens, cherry tomatoes, avocado, and your favorite dressing.
- Fried Chicken Tacos: Shred the chicken and serve it in tortillas with shredded lettuce, salsa, and a squeeze of lime.
- Fried Chicken Waffles: Pair leftover chicken with fluffy waffles and a drizzle of maple syrup for a sweet-and-savory treat.
Conclusion
Making the best Fried Chicken at home is all about mastering the details—from choosing the right cuts and brining for flavor to perfecting the coating and frying techniques. By following these 10 secrets, you can create Fried Chicken that’s crispy, juicy, and bursting with flavor every time.
But the journey doesn’t end there. Serving your Fried Chicken with the perfect sides, storing it properly, and getting creative with leftovers ensures that every bite is as enjoyable as the first.
So, what are you waiting for? Grab your apron, heat up that oil, and start frying! And don’t forget to share your results—we’d love to hear how your Fried Chicken turned out. What’s your favorite tip or recipe? Let us know in the comments!