

Introduction
Sushi, the iconic Japanese dish, has captured the hearts and taste buds of food lovers around the globe. With its perfect blend of flavors, textures, and artistry, sushi is more than just a meal—it’s an experience. Whether you’re indulging in a classic tuna roll, savoring the simplicity of nigiri, or exploring creative fusion options, sushi offers something for everyone. But what if you could bring this culinary delight into your own kitchen? Making sushi at home might seem intimidating at first, but with the right guidance, it’s an achievable and incredibly rewarding endeavor.
In recent years, the trend of homemade sushi has gained popularity, thanks to its versatility and the joy of creating something delicious from scratch. Not only is it a fun activity to share with family and friends, but it also allows you to customize your rolls with your favorite ingredients. This step-by-step guide is designed for beginners, breaking down the process into simple, easy-to-follow steps. From preparing the perfect sushi rice to rolling your first maki, you’ll discover that making sushi at home is easier than you think. So, grab your sushi mat and let’s dive into the world of homemade sushi!
Essential Tools and Ingredients for Making Sushi
Making sushi at home requires a few specialized tools and fresh, high-quality ingredients. While some items are essential, others can be substituted or improvised if you’re just starting out. Here’s everything you’ll need to create delicious sushi in your own kitchen.
Must-Have Tools
- Sushi Mat (Makisu)
- A bamboo sushi mat is essential for rolling sushi tightly and evenly.
- Tip: Wrap the mat in plastic wrap before use to prevent rice from sticking and make cleanup easier.
- Sharp Knife
- A sharp, non-serrated knife is crucial for slicing sushi rolls cleanly without squishing them.
- Tip: Wet the knife blade with water before each cut to prevent sticking.
- Rice Cooker or Pot
- While a rice cooker ensures perfectly cooked sushi rice every time, a regular pot with a tight-fitting lid works just as well.
- Tip: Use a 1:1.25 ratio of rice to water for the ideal texture.
- Wooden Spoon or Rice Paddle
- A wooden spoon or rice paddle is ideal for mixing and handling sushi rice without crushing the grains.
- Tip: Avoid using metal utensils, as they can react with the rice vinegar and alter the flavor.
Key Ingredients
- Sushi Rice (Short-Grain Japanese Rice)
- Sushi rice is the foundation of any sushi dish. Its sticky texture and slightly sweet flavor make it perfect for rolling.
- Tip: Look for Japanese short-grain rice labeled specifically for sushi.
- Rice Vinegar, Sugar, and Salt (for Seasoning Rice)
- These three ingredients are combined to create the signature seasoning for sushi rice.
- Tip: Heat the mixture slightly to dissolve the sugar and salt before mixing it into the rice.
- Nori (Seaweed Sheets)
- Nori is the thin, dried seaweed used to wrap sushi rolls. It adds a subtle umami flavor and holds everything together.
- Tip: Toast nori lightly over a flame for a crispier texture and enhanced flavor.
- Fresh Fish or Vegetables
- For traditional sushi, use sushi-grade fish like salmon, tuna, or yellowtail. If you prefer vegetarian options, try cucumber, avocado, or carrots.
- Tip: Always purchase fish from a reputable source and ensure it’s labeled “sushi-grade” for safety.
- Soy Sauce, Wasabi, and Pickled Ginger (for Serving)
- These condiments are the perfect accompaniments to sushi. Soy sauce adds saltiness, wasabi provides a spicy kick, and pickled ginger cleanses the palate between bites.
- Tip: Use low-sodium soy sauce if you’re watching your salt intake.
Washing and Cooking the Rice
Choosing the Right Rice
- Use short-grain Japanese rice (also called sushi rice or Japonica rice). This type of rice has the right amount of starch to become sticky when cooked, which is essential for holding sushi together.
Rinsing the Rice
- Measure the desired amount of rice using a measuring cup. A common ratio is 1 cup of uncooked rice per roll of sushi.
- Place the rice in a large bowl and cover it with cold water. Gently swirl the rice with your hand to release excess starch.
- Drain the cloudy water and repeat the process 3-4 times until the water runs almost clear. This step is crucial because it removes excess starch, which can make the rice gummy if left unrinsed.
- Let the rice drain in a fine-mesh strainer for about 15-30 minutes to remove excess moisture. This helps the rice cook evenly.
Cooking the Rice
- Using a Rice Cooker:
- Add the rinsed rice to the rice cooker and pour in the appropriate amount of water. The general rule is a 1:1.1 ratio of rice to water (e.g., 1 cup rice to 1.1 cups water).
- Start the rice cooker and let it do the work. Once done, let the rice sit for 10-15 minutes to steam and finish cooking.
- Using the Stovetop:
- Combine the rinsed rice and water in a pot (using the same 1:1.1 ratio).
- Bring to a boil over medium-high heat, then reduce the heat to low, cover with a tight-fitting lid, and simmer for 15-20 minutes.
- Turn off the heat and let the rice sit, covered, for another 10 minutes to steam.
Seasoning the Rice
Preparing the Seasoning Mixture
- In a small saucepan, combine rice vinegar, sugar, and salt. A common ratio is:
- 5 tablespoons rice vinegar
- 2 tablespoons sugar
- 1 teaspoon salt
- Heat the mixture gently over low heat, stirring until the sugar and salt dissolve completely. Do not boil the mixture. Once dissolved, remove it from the heat and let it cool slightly.
Mixing the Seasoning into the Rice
- Transfer the cooked rice to a large, shallow, non-metallic bowl (traditionally, a wooden hangiri is used, but any wide bowl will work). Avoid using a metal bowl, as it can react with the vinegar and alter the flavor.
- While the rice is still warm, drizzle the seasoning mixture evenly over the rice.
- Use a rice paddle or a flat wooden spoon to gently fold the seasoning into the rice. Be careful not to smash or overmix the grains, as this can make the rice mushy. Use a slicing motion to separate the grains and distribute the seasoning evenly.
Cooling the Rice
- Fan the rice while mixing to help it cool down quickly and achieve a glossy finish. This step also helps remove excess moisture and gives the rice the perfect sticky texture for sushi.
- Once the rice has cooled to room temperature, it’s ready to use. Cover it with a damp cloth to prevent it from drying out while you prepare the other sushi ingredients.
Additional Tips for Perfect Sushi Rice
- Consistency: The rice should be sticky enough to hold its shape but still have individual grains that are distinct and not mushy.
- Timing: Sushi rice is best used within a few hours of preparation. Avoid refrigerating it, as this will harden the rice and ruin its texture.
- Practice: Perfecting sushi rice takes practice. Don’t be discouraged if your first attempt isn’t perfect—keep refining your technique!
Preparing Your Workspace
Gather Your Ingredients and Tools
- Ingredients:
- Sushi rice (prepared and seasoned)
- Nori (seaweed sheets)
- Fillings (e.g., fresh fish like tuna or salmon, cucumber, avocado, crab sticks, etc.)
- Optional toppings or condiments (e.g., sesame seeds, spicy mayo, soy sauce)
- Tools:
- Bamboo sushi mat (makisu)
- Sharp knife
- Small bowl of water (for wetting your hands)
- Damp cloth (to cover the rice and keep it moist)
Set Up Your Station
- Lay out all your ingredients and tools in an organized manner for easy access. This will make the rolling process smoother and more efficient.
- Keep a bowl of water nearby to wet your hands. This prevents the sticky rice from clinging to your fingers.
- Place a damp cloth over the prepared sushi rice to keep it from drying out while you work.
Rolling a Classic Maki Roll
Prepare the Nori and Rice
- Place a sheet of nori (shiny side down) on the bamboo sushi mat. The rough side of the nori should face up, as this helps the rice stick better.
- Wet your hands lightly with water to prevent sticking, then grab a handful of sushi rice (about ¾ to 1 cup, depending on the size of the nori).
- Gently spread the rice evenly over the nori, leaving a 1-inch (2.5 cm) border at the top edge. The rice layer should be thin and even, about ¼-inch thick.
Add the Fillings
- Place your chosen fillings in a horizontal line across the center of the rice. For a classic maki roll, common fillings include:
- Thin slices of fish (e.g., tuna, salmon)
- Julienned cucumber
- Sliced avocado
- Crab sticks or imitation crab
- Be careful not to overfill the roll, as this can make it difficult to roll tightly.
Roll the Sushi
- Lift the edge of the sushi mat closest to you and fold it over the fillings, tucking the edge of the nori under the fillings to start the roll.
- Apply gentle, even pressure as you roll to ensure the sushi is tight and compact.
- Once the roll is complete, press the mat firmly around the roll to shape it and seal the edge of the nori.
Slice the Roll
- Use a sharp knife to cut the roll into bite-sized pieces (usually 6-8 pieces per roll).
- Wet the knife with water before each cut to prevent sticking and ensure clean slices.
- Wipe the knife clean between cuts for neat presentation.
Tips for Tight Rolls
Apply Even Pressure
- When rolling, use consistent pressure to ensure the roll is tight and holds its shape. Avoid pressing too hard, as this can squeeze out the fillings.
Use a Sharp Knife
- A sharp knife is essential for clean cuts. Dull knives can crush the roll and make it messy.
- Wet the knife before each cut to prevent the rice from sticking.
Practice Makes Perfect
- Rolling sushi takes practice. Don’t be discouraged if your first few attempts aren’t perfect. Keep refining your technique.
Experiment with Fillings
- While traditional fillings are delicious, don’t be afraid to get creative. Try combinations like spicy tuna, tempura shrimp, or even vegetarian options like pickled radish and carrots.
Keep Ingredients Balanced
- Ensure the fillings are evenly distributed and not too bulky. Overfilling can make the roll difficult to seal and slice.
Additional Tips for Success
- Room Temperature Ingredients: Use sushi rice and fillings at room temperature for the best texture and flavor.
- Nori Quality: Use high-quality nori for a crisp texture and fresh flavor.
- Presentation: Arrange the sliced sushi pieces neatly on a plate, garnished with pickled ginger, wasabi, and a drizzle of soy sauce for a professional touch.
Inside-Out Rolls (Uramaki)
What Are Inside-Out Rolls?
- Inside-out rolls, or uramaki, are a popular sushi variation where the rice is on the outside of the roll, and the nori wraps around the fillings. This style originated in the United States and is often used for rolls with decorative toppings.
How to Make Inside-Out Rolls
- Step 1: Place a sheet of nori on the sushi mat.
- Step 2: Spread a thin, even layer of sushi rice over the nori, covering it completely.
- Step 3: Flip the nori and rice over so the rice is facing down on the mat.
- Step 4: Add your fillings (e.g., crab sticks, avocado, cucumber, or fish) in a horizontal line across the center of the nori.
- Step 5: Roll the sushi tightly using the mat, applying even pressure to ensure a compact roll.
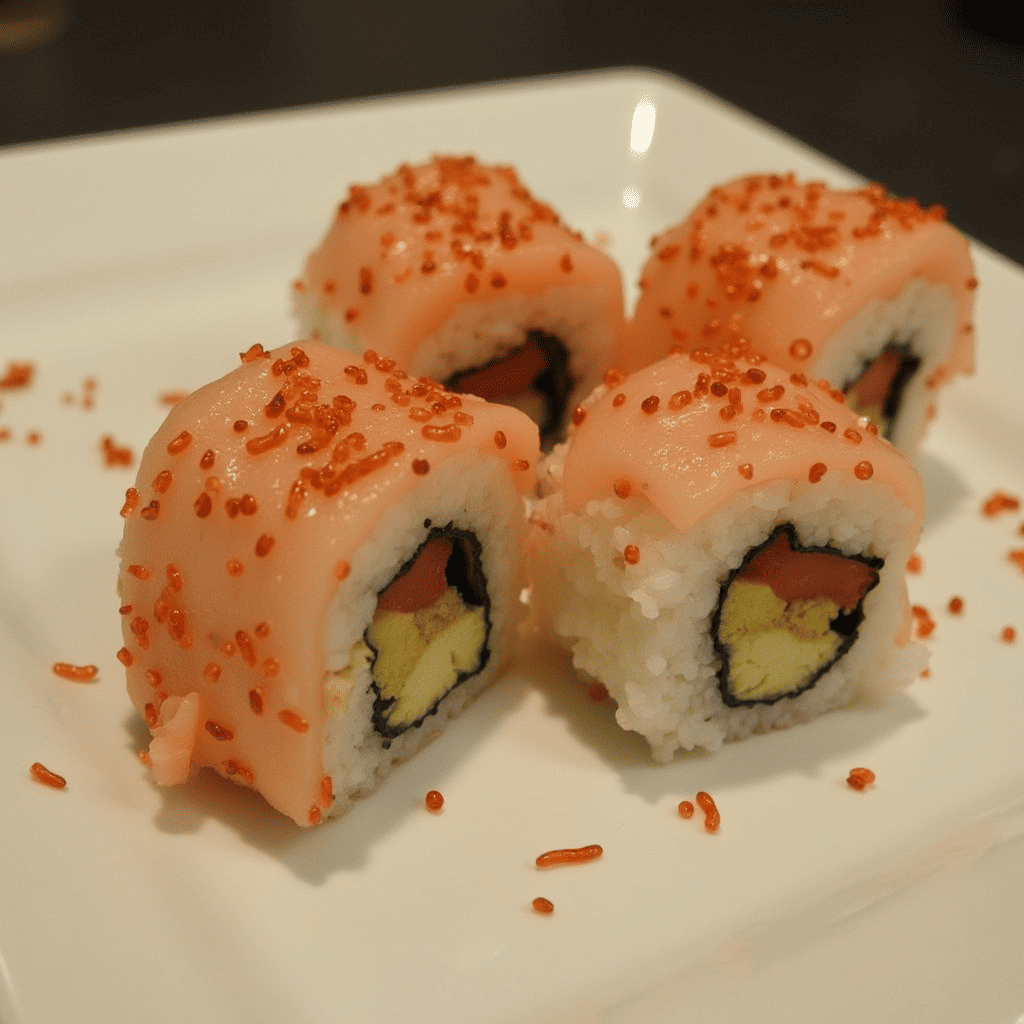
- Step 6: Once rolled, add toppings like sesame seeds, fish roe (tobiko), or thinly sliced fish to the outside of the roll. Gently press the toppings into the rice to help them stick.
- Step 7: Slice the roll into bite-sized pieces using a sharp, wet knife.
Popular Inside-Out Roll Variations
- California Roll: Crab sticks, avocado, and cucumber, topped with sesame seeds.
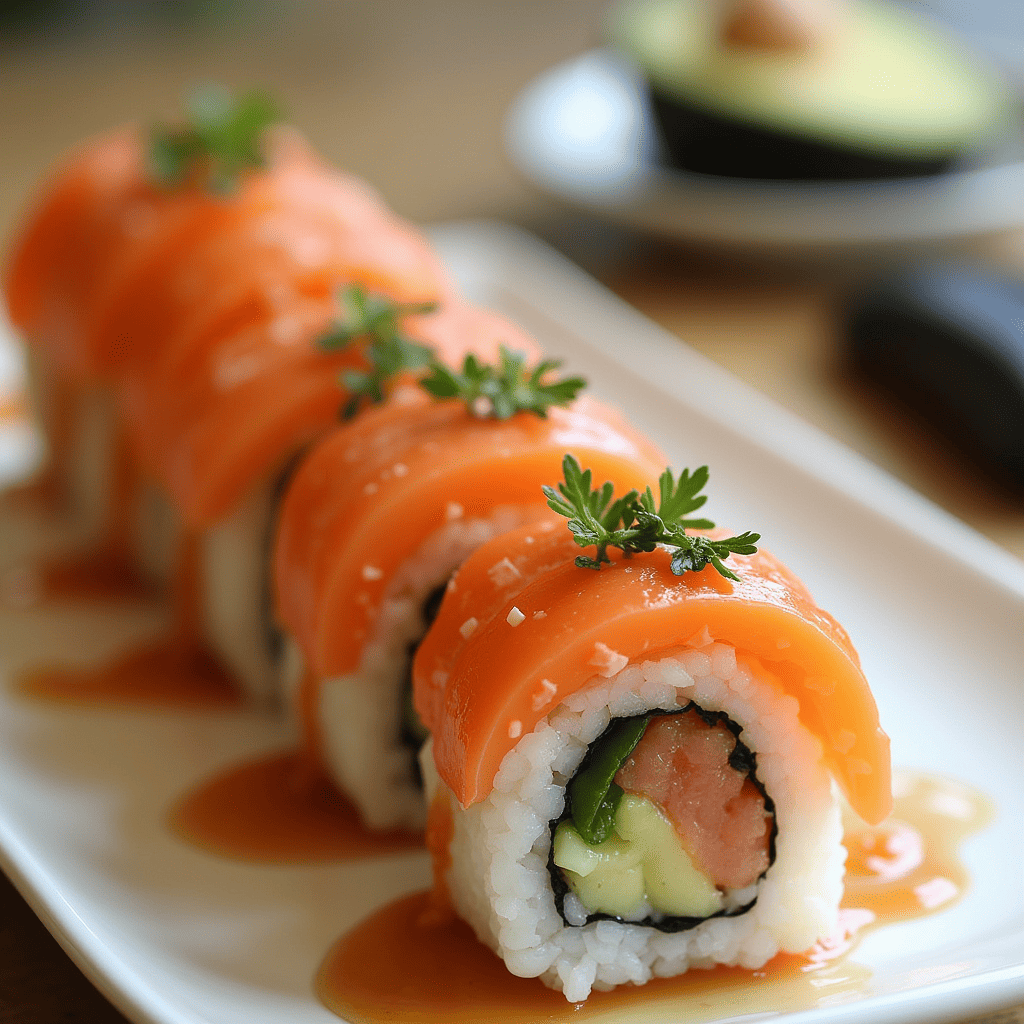
- Rainbow Roll: A California roll topped with thin slices of assorted fish (e.g., tuna, salmon, yellowtail).
- Dragon Roll: Eel and cucumber inside, topped with avocado slices to resemble dragon scales.
Nigiri Sushi
What Is Nigiri Sushi?
- Nigiri sushi consists of small, hand-pressed mounds of sushi rice topped with a slice of fresh fish or other ingredients. It’s a classic and elegant sushi style that highlights the quality of the toppings.
How to Make Nigiri Sushi
- Step 1: Wet your hands with water to prevent sticking, then take a small portion of sushi rice (about 1-2 tablespoons).
- Step 2: Gently shape the rice into an oval mound, using your fingers to press it firmly but not too tightly. The rice should hold its shape but remain tender.
- Step 3: Add a small dab of wasabi to the top of the rice (optional).
- Step 4: Place a slice of fresh fish (e.g., salmon, tuna, or yellowtail) or another topping over the rice. For fish, the slice should be thin and slightly wider than the rice mound.
- Step 5: Gently press the topping onto the rice to secure it. For some toppings, like eel or shrimp, you can use a thin strip of nori to hold them in place.
Creative Nigiri Toppings
- Seafood: Fresh sashimi-grade fish, shrimp, scallops, or octopus.
- Cooked Toppings: Grilled eel (unagi), tamago (sweet Japanese omelet), or seared beef.
- Vegetarian Options: Thinly sliced avocado, marinated tofu, or pickled vegetables.
Vegetarian and Vegan Options
Why Try Vegetarian and Vegan Sushi?
- Vegetarian and vegan sushi is a great way to enjoy sushi without fish or animal products. It’s also a fantastic option for those with dietary restrictions or anyone looking to incorporate more plant-based ingredients into their meals.
Popular Vegetarian and Vegan Fillings
- Tofu: Use firm tofu, either plain, marinated, or lightly fried.
- Sweet Potato: Roasted or tempura-fried sweet potato adds a sweet and creamy texture.
- Marinated Mushrooms: Shiitake or oyster mushrooms, sautéed with soy sauce and mirin, provide a rich, umami flavor.
- Avocado: A creamy and versatile filling that pairs well with many ingredients.
- Cucumber: Adds a refreshing crunch.
- Pickled Vegetables: Pickled radish, carrots, or daikon add tangy flavor and color.
- Asparagus: Lightly blanched or grilled asparagus spears work well as a filling.
Creative Vegetarian and Vegan Sushi Ideas
- Vegetable Tempura Roll: Fill the roll with tempura-fried vegetables like sweet potato, zucchini, or bell peppers.
- Avocado and Cucumber Roll: A simple yet delicious combination of avocado and cucumber, topped with sesame seeds.
- Mango and Avocado Roll: Add a tropical twist with ripe mango slices and avocado.
- Spicy Tofu Roll: Use crumbled tofu mixed with spicy vegan mayo as a filling.
- Rainbow Veggie Roll: Combine colorful vegetables like carrots, bell peppers, and avocado for a vibrant roll.
Tips for Vegan Sushi
- Ensure all ingredients, including the rice vinegar and condiments, are vegan-friendly.
- Use plant-based substitutes for traditional toppings, such as vegan mayo or cashew-based sauces.
- Experiment with textures and flavors to create satisfying and visually appealing rolls.
Additional Creative Sushi Ideas
- Sushi Burritos: Wrap sushi ingredients in a large sheet of nori or soy paper for a handheld, burrito-style sushi.
- Sushi Bowls: Deconstruct sushi into a bowl format, with sushi rice as the base and toppings like fish, vegetables, and sauces arranged on top.
- Dessert Sushi: Use sweet ingredients like mango, strawberries, and coconut rice to create dessert-style sushi rolls.
Serving and Enjoying Your Homemade Sushi
Once you’ve mastered the art of making sushi, the final step is presenting and enjoying your creation. Serving sushi is an opportunity to showcase your hard work and make the experience as delightful as possible. Here’s how to plate, pair, and store your homemade sushi like a pro.
Plating Your Sushi
- Arrange Sushi Pieces on a Platter
- Presentation is key when it comes to sushi. Arrange your sushi rolls, nigiri, or sashimi neatly on a clean, elegant platter.
- Tip: Use contrasting colors to make your sushi stand out. For example, place bright orange salmon rolls next to green avocado rolls.
- Garnish with Pickled Ginger, Wasabi, and Soy Sauce
- Add small dishes of pickled ginger, wasabi, and soy sauce to the platter for dipping and palate cleansing.
- Tip: Place a small mound of wasabi on the side or mix it into the soy sauce for an extra kick of flavor.
- Add Decorative Touches
- Enhance the visual appeal with garnishes like microgreens, sesame seeds, or edible flowers.
- Tip: Use a bamboo leaf or a slice of lemon as a decorative base for your sushi platter.
Pairing Suggestions
- Green Tea
- A classic pairing, green tea complements the flavors of sushi and aids digestion.
- Tip: Serve hot or cold, depending on your preference.
- Sake
- For an authentic Japanese experience, pair your sushi with a glass of sake. The subtle sweetness and acidity of sake balance the richness of the fish.
- Tip: Chill sake slightly before serving for the best flavor.
- Light Salad or Miso Soup
- A simple cucumber salad or a bowl of miso soup makes a refreshing side dish.
- Tip: Add a sprinkle of sesame seeds or a drizzle of sesame oil to your salad for extra flavor.
Storing Leftover Sushi
- Wrap Sushi Tightly in Plastic Wrap
- If you have leftovers, wrap the sushi tightly in plastic wrap to prevent it from drying out.
- Tip: Store rolls and nigiri separately to maintain their shape and texture.
- Refrigerate for Up to 24 Hours
- Sushi is best enjoyed fresh, but it can be refrigerated for up to 24 hours if stored properly.
- Tip: Bring sushi to room temperature before serving to enhance its flavor.
- Note: Sushi is Best Enjoyed Fresh
- While storing sushi is possible, it’s always better to make it fresh for the best taste and texture.
- Tip: Plan your portions carefully to minimize leftovers.
Conclusion
Making sushi at home is a fun, rewarding, and surprisingly simple process once you have the right tools and ingredients. From preparing the perfect sushi rice to rolling your first maki, this guide has walked you through every step of the journey.
Don’t be afraid to experiment with different ingredients, flavors, and techniques. Whether you’re crafting classic rolls, trying your hand at nigiri, or creating vegetarian masterpieces, the possibilities are endless.
There’s something incredibly satisfying about creating a restaurant-quality dish in your own kitchen. So, gather your ingredients, roll up your sleeves, and dive into the world of homemade sushi. Your next culinary adventure awaits!